


")


")
Scratch for Arduino (S4A)
S4A is a Scratch modification which is simple as ABC to use and
understand the language composed by the MIT Media Lab mainly intended to
introduce easy programming of the Arduino open source hardware platform to
children aged 7-16. It provides new blocks for managing sensors and
actuators connected to Arduino.
The main objective of the S4A is attracting children to the programming world. The objective of S4A gives a high-level communication to Arduino programmer with functionalities such as interacting with a set of boards through user proceedings.
An Arduino extension is ready on ScratchX, a Scratch sister site
hosting experimental extensions. See the instructions for the experimental
Arduino extension for Scratch.
Interface
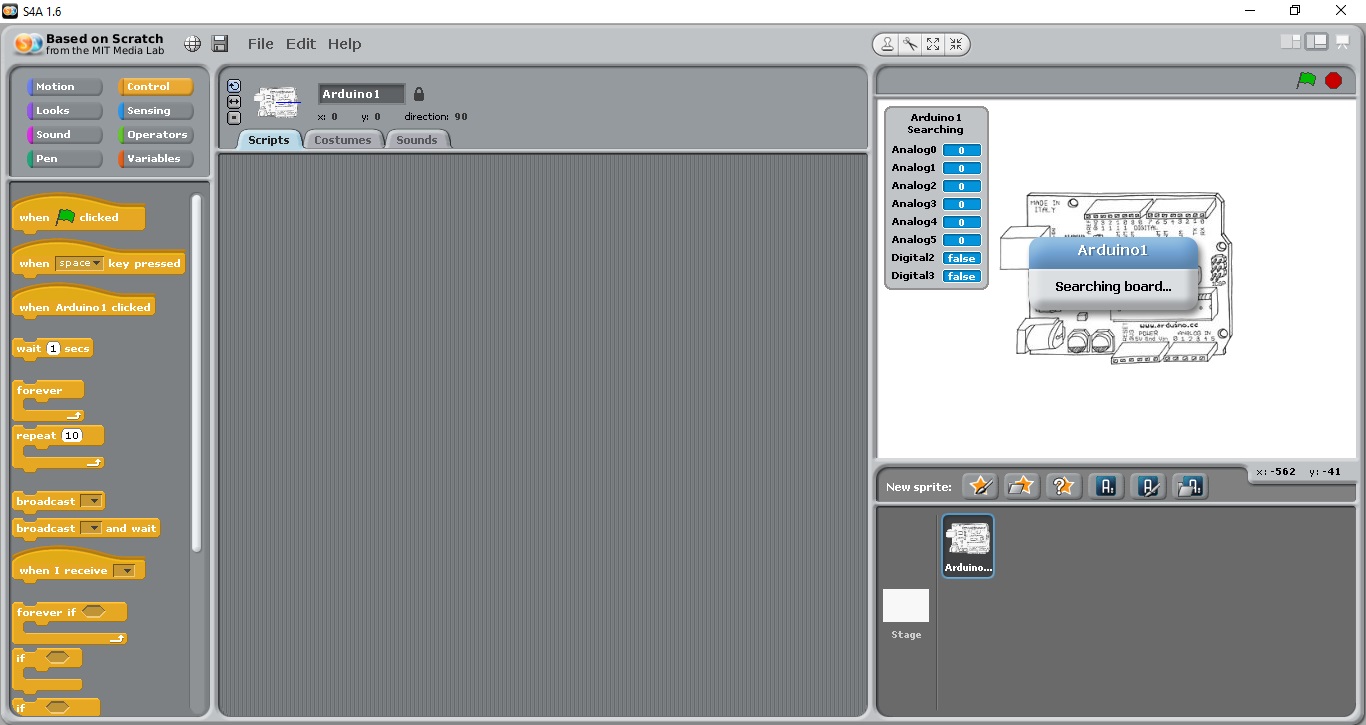
When Scratch starts up, you will see a screen similar to the one below. S4A
offer blocks for the basic microcontroller functionalities, analog and digital
writes and reads, and also for higher level ones. You can connect multiple
boards at the same time by just adding a new Arduino sprite.
In the interface different areas have been labelled as shown below image.
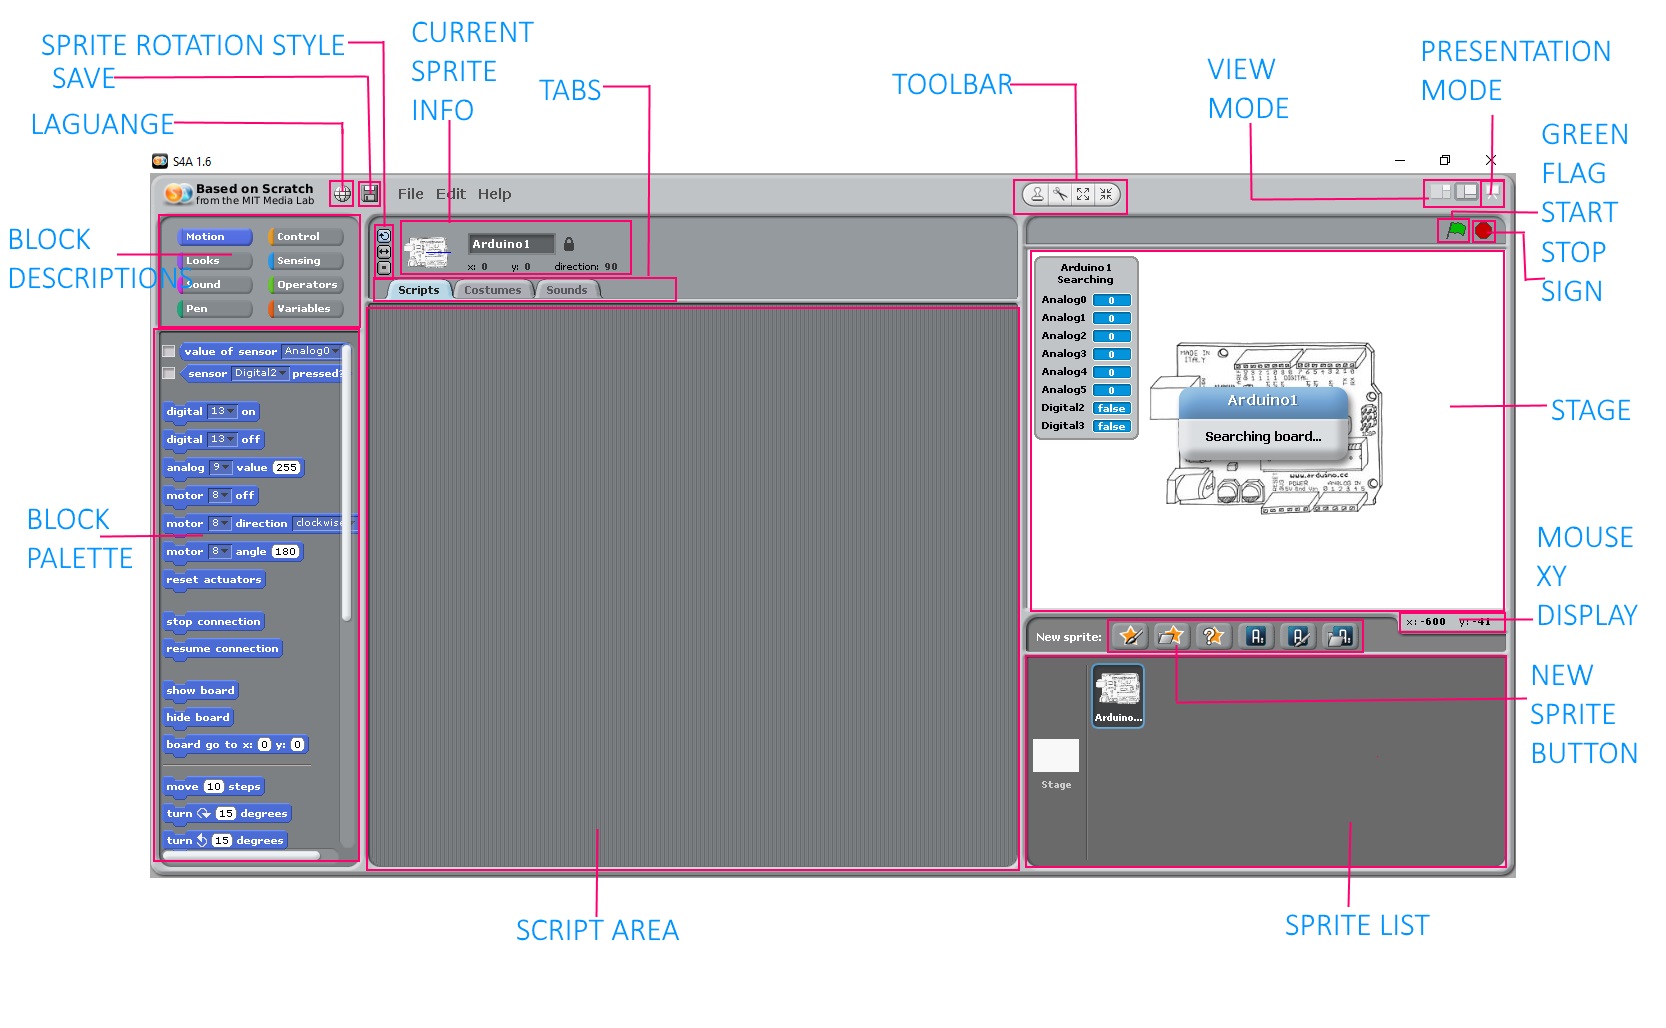
Menu: In this block area you can create a
‘New’ project, ‘Open’ or ‘Save’ an existing project, ‘Save (a new project) as’
whatever name you choose, ‘Undo’ a previous action, and obtain ‘Help’.
Block
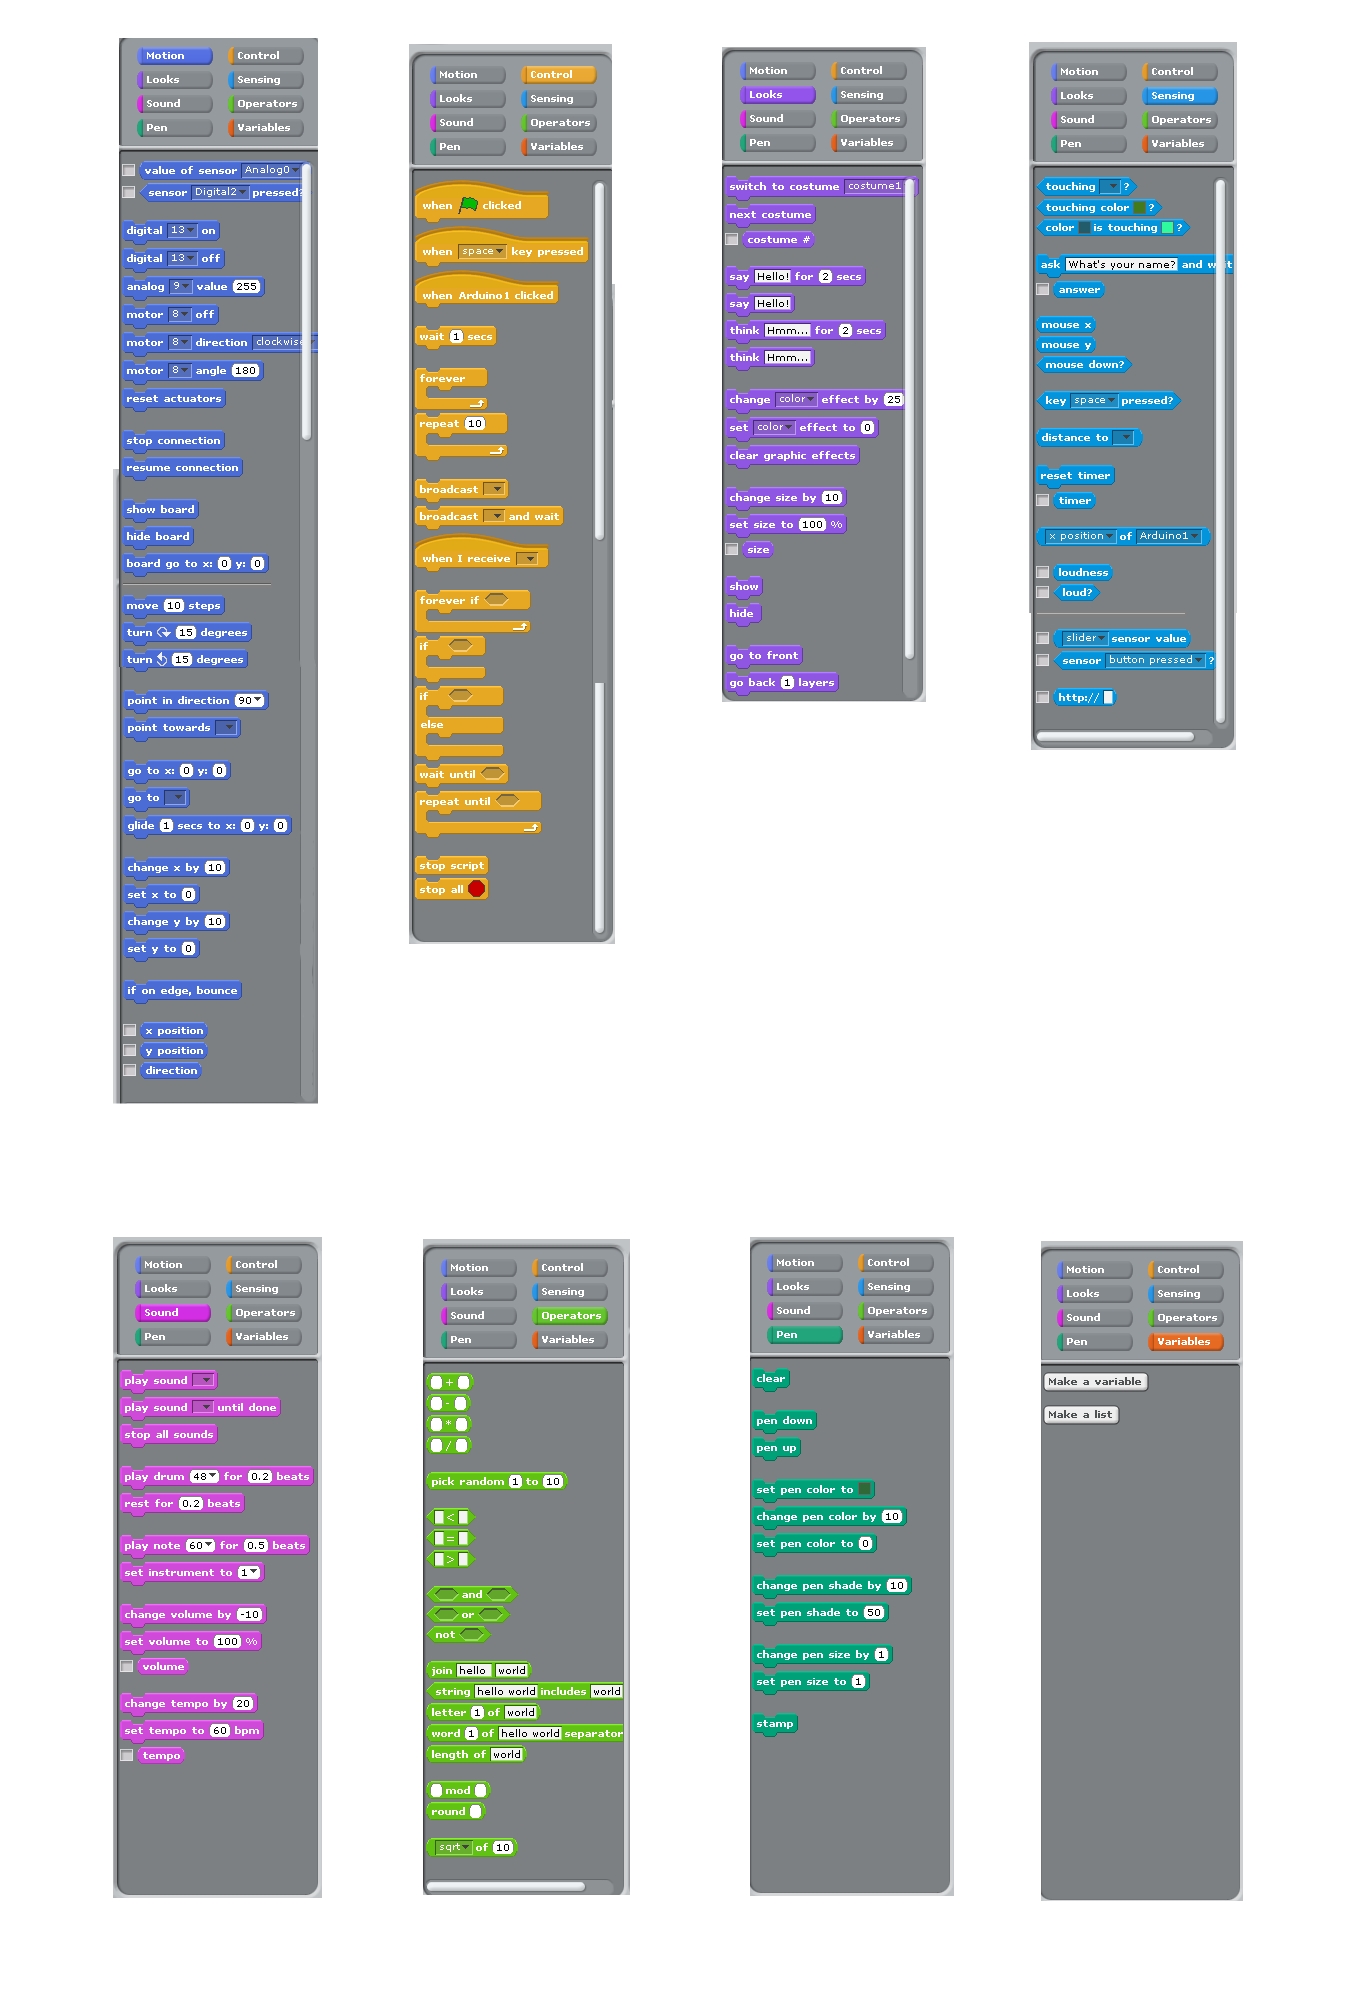
Descriptions: In this block area you find eight categories of blocks
including Motion, Looks, Sound, Pen, Control, sensing, operators and Variables.
The block categories are all colour coded so when you see a block of a specific
colour, you can quickly determine which category it came from.
Blocks Palette: In this block area you see all available blocks which you will use in your programming. Note that the blocks palette will change depending upon the current block category. When you select a new block category, the blocks palette will change to reflect the new options available.
Current Sprite Information: In this block area you
will find the name and picture of the current sprite together with its x-y
position, direction, and rotation style.
Tabs: In
this block area tabs allow you to both see and change the current sprite’s
scripts, costumes, and sounds.
Scripts
area: In this block area you will create and view the
current scripts.
Stage:
In this block area where all of the action takes place. The stage is 480 units
wide by 360 units tall and the centre of the stage is at x-y coordinate (0,0).
This means the lower left is at (-240, -180), the upper left is at (-240, 180),
the upper right is at (240, 180), and the lower right at (240, -180).
Toolbar: In
this block area numbers of tool exist for your use. The arrow is the default
selection and it give you to pick up and move sprites and blocks of code
around. There are also options for you to duplicate and delete items as well as
grow and shrink your sprite.
Green
Flag/ Red Stop: In this block area you click on the Green
Flag to start your main program(s) and the Red Stop sign to end them.
Presentation
mode: This section provides a full-screen view of the
stage. To exit, use the ‘Esc’ key.
New
Sprite buttons: Using these buttons, you can paint a new
sprite, choose a new sprite from a file, or get a surprise (random) sprite.
Sprite
List: In this block area you will see a thumbnail for the
stage. Clicking on this thumbnail changes the ‘Current Sprite Information’ area
to reflect the properties of the stage. Stages can still have scripts and
sounds. However, to change the appearance of the stage, you would select a
different ‘Background’ as opposed to ‘Costume’. On the right, you will see
thumbnails of all of the sprites in the project together with the sprite’s
name, amount of costumes, and amount of scripts. You can easily change the
current sprite by clicking on a different one. When you do this, the ‘Current
Sprite Information’ area together with the ‘Scripts area’ is updated too
Supported
boards:
S4A works with Arduino Diecimila, Duemilanove
and Uno and other boards you can test by self.
Connectivity:
Components have to be connected in a
particular way. S4A allows for 6 analog inputs (analog pins), 2 digital inputs
(digital pins 2 and 3), 3 analog outputs (digital pins 5, 6 and 9), 3 digital
outputs (pins 10, 11 and 13) and 4 special outputs to connect (digital pins 4,
7, 8 and 12).
Protocol:
S4A interacts with Arduino by sending the
actuator states and receiving sensor states every 75 ms, therefore the pulse
width needs to be greater than this time period.
Download
and Install:
Installing S4A requires you to install
software both in your PC and your Arduino board.
Links
http://scratch.mit.edu
http://scratchx.org
http://s4a.cat
Leave a Comment